Heavy Branch, Clean Exit: The Three-Step Cut That Protects Your Trunk
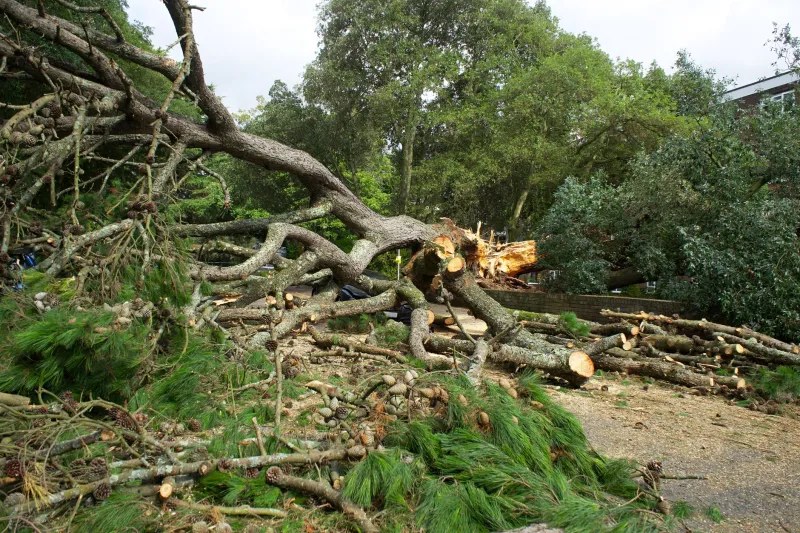
A heavy branch is a bit like a door wedge: once it starts to fall, it keeps going. If the saw cut is still open when the weight shifts, the branch can tear away and take a ribbon of bark with it, running down the trunk. That tear is ugly, slow to seal and, on a valuable tree, entirely avoidable. The answer is not a sharper saw or a stronger shove. It is a sequence of three cuts, and the most important one happens before the branch moves at all.
Why one cut is often one cut too few
When you saw through a branch from the top only, the wood underneath is still holding the branch up. As you get near the end of the cut, the branch sags, pinches the saw and then drops. The hinge of wood that was keeping it attached can split away from the trunk, stripping bark as it goes.
An under-cut changes that. By removing a wedge from the underside first, you create a weak point where the branch can break cleanly when the top cut meets it. The branch still falls, but it falls on your terms rather than peeling half your trunk on the way down.
This is not a new trick. It is standard practice in arboriculture, and it is why a trained tree surgeon can drop a chunky limb with surprisingly little damage to the tree behind it. The difference between a neat scar and a ragged tear is usually planning, not power.
Is this branch a DIY job at all?
The three-cut method is a useful thing to understand, but it is not a licence to start dismantling a mature oak with a bow saw. For most UK homeowners, the sensible DIY zone is a branch you can comfortably reach from the ground or from a stable, level position, with a clean drop zone and no obstacles underneath.
As a rough guide, a pruning saw or loppers are usually the right tools for branches up to about 5–7cm in diameter, depending on the wood. A sharp pruning saw can manage a little more, but once you are into wrist-thick timber, the weight is doing as much work as the blade. If the branch is above shoulder height, if you would need a ladder to reach it, or if you are thinking about a chainsaw, stop and reassess.
There are also hard stops that mean call a professional rather than carry on:
- The branch is near overhead power lines, telephone cables or a street light.
- It hangs over a conservatory, greenhouse, shed, fence, parked car or footpath.
- The tree has a TPO, sits in a conservation area or is otherwise protected.
- You can see fungal fruiting bodies, hollowing, cracks, included bark or dead wood in the crown.
- The tree is large, the branch is heavy and the drop zone is not completely clear.
- There is any chance of disturbing nesting birds or bats.
In the UK, bats and their roosts are protected by law, and nesting birds are protected while they are active. A quick check before you cut is not box-ticking; it is part of the job.
The sequence in plain English
Assuming the branch is genuinely within DIY limits, the three-cut method works like this.
1. The under-cut
Make a cut on the underside of the branch, about 10–15cm out from the trunk or from the branch collar. Cut upwards into the branch to a depth of roughly one-third of its diameter. This is the cut people skip because it is awkward to reach. It is also the one that prevents the tear.
2. The top cut
Make the second cut on top of the branch, a few centimetres further out from the trunk than the under-cut. Saw downwards until the branch drops. Because the under-cut has weakened the underside, the branch should break away before the top cut can tear into the trunk. The stub stays attached for now, which is exactly what you want.
3. The final cut
Now remove the stub. Make a clean cut just outside the branch collar, the slightly swollen ridge of bark and wood where the branch meets the trunk. Do not cut flush into the trunk. The collar is the tree's own sealing zone, and leaving it intact gives the wound its best chance of closing over.
On a small branch, this sequence can feel fussy. On anything with real weight, it is the difference between a tidy job and a wound that never quite recovers.
The warning signs that say stop
Even with the right technique, some branches are not a homeowner job. Be honest with yourself about the following:
- The branch is thicker than your upper arm, or longer than you can safely control.
- You cannot clear the drop zone completely, or the branch would land on something fragile.
- The tree is leaning, the branch is cracked, or there is dead wood above you.
- You would be working from a ladder, a roof or a slope with a saw in one hand.
- The branch is close to a building, boundary or service cable.
- You feel unsure about the tree's stability or the size of the job.
A good arborist will not just make the cut. They will assess the tree, rig the branch down if needed, avoid damaging the lawn or patio, and deal with the waste. That is often worth paying for once rather than trying to rescue a torn trunk later.
After the branch is down
Leave the wound alone. Do not paint it, smear it with sealant or wrap it. UK tree care guidance has long been clear that fresh pruning wounds are best left to seal naturally. Clear the debris, check that the stub has gone and keep an eye on the cut over the coming months.
If you do end up with a torn strip of bark, take a photo and get advice. A small tear may callus over; a large one on a main trunk is worth having assessed by a professional. The three-cut method is there to stop that happening in the first place, but it only works when it is used on a branch that was sensible to cut.
When to book the professional
Book a tree surgeon if the branch is large, the access is awkward, the tree is protected, or the job needs a chainsaw above shoulder height. For anything involving rigging, climbing, overhead cables or a tree that may be unstable, the three-cut method is not a DIY shortcut. It is part of a bigger safety system.
Used sensibly, though, it is one of the most useful bits of tree craft a homeowner can learn. The first cut may be the one nobody notices, but it is the one that saves the trunk.